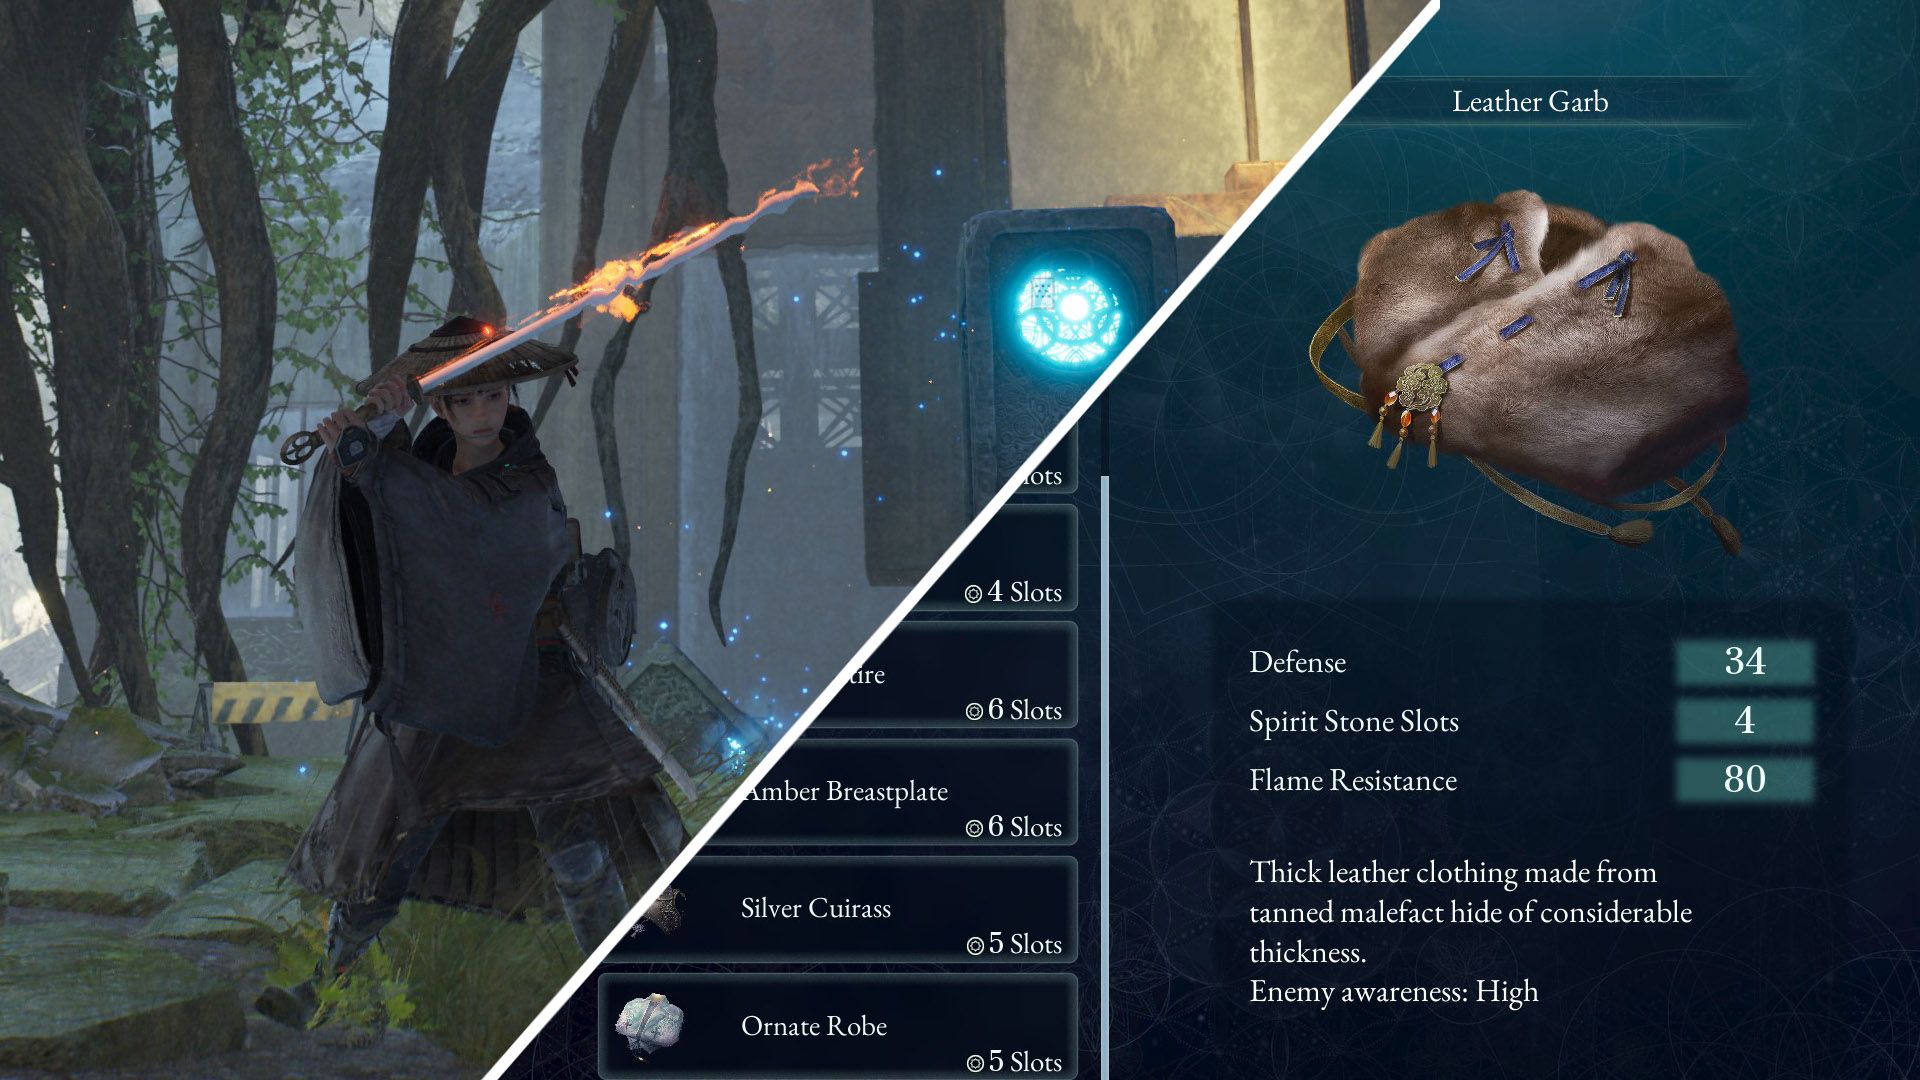
Like any compelling action game, Beast of Reincarnation offers players numerous pathways to strengthen their protagonist, Emma, alongside her endearing companion creature, Koo. The game features a multifaceted progression system where players can invest in raw statistics such as Strength or Vitality, unlock powerful abilities through an expansive skill tree, and discover hidden equipment scattered throughout the game’s atmospheric world. Among the most valuable upgrades players can find are armor pieces, which provide crucial defensive bonuses that can mean the difference between survival and defeat in the game’s challenging combat encounters. This comprehensive guide will walk you through every armor location in Beast of Reincarnation, ensuring you never miss a single piece of protective gear.
Understanding the Armor System in Beast of Reincarnation
Before diving into specific locations, it’s essential to understand how armor functions within Beast of Reincarnation’s gameplay framework. The game draws inspiration from classic action-adventure titles and modern soulslike experiences, creating a hybrid system where equipment discovery feels rewarding and impactful. Armor pieces in the game don’t simply add flat defense values; they often come with unique passive effects that can complement different playstyles. Some armor sets favor aggressive players who prefer to trade blows with enemies, while others cater to more cautious approaches with enhanced dodge capabilities or regenerative properties. The relationship between Emma and Koo also factors into equipment effectiveness, as certain armor pieces enhance the synergy between the duo’s combined attacks.
The developers designed armor placement with exploration in mind, rewarding players who venture off the beaten path and investigate every corner of the game’s interconnected world. Many armor pieces are hidden behind environmental puzzles, locked behind boss encounters, or tucked away in areas that require specific abilities to access. This design philosophy encourages thorough exploration and gives players tangible incentives to revisit earlier areas once they’ve acquired new traversal skills. Veterans of metroidvania-style games will find this approach familiar, while newcomers should prepare to keep mental notes of inaccessible areas for later investigation.
Early Game Armor Locations
The first armor piece players can obtain appears relatively early in the adventure, located within the Whisperwood Grove area that serves as the game’s introductory zone. After completing the initial tutorial section and gaining control of Koo’s basic abilities, players should explore the eastern portion of the grove where a collapsed stone structure conceals a hidden chamber. Inside this chamber rests the Wanderer’s Vestments, a lightweight armor set that provides modest protection while maintaining full mobility. This early acquisition helps ease players into the game’s difficulty curve and establishes the expectation that exploration yields meaningful rewards.
Continuing through the Ashen Cliffs region, players will encounter a more challenging armor acquisition that requires defeating a mini-boss enemy guarding a mountain passage. The Stonebound Plate armor awaits those who overcome this obstacle, offering substantially higher defense ratings at the cost of slightly reduced movement speed. This trade-off introduces players to the strategic decisions that armor selection demands throughout the rest of the game. Additionally, a third early-game armor piece, the Healer’s Shroud, can be found by completing a side quest for the village herbalist, demonstrating that not all equipment requires combat prowess to obtain.
Mid-Game and Late-Game Armor Discoveries
As players progress deeper into Beast of Reincarnation’s narrative, armor locations become increasingly obscure and challenging to reach. The Sunken Cathedral area, accessible after acquiring the underwater breathing ability, contains two separate armor sets hidden within its flooded corridors. The Abyssal Mail provides resistance to water-based attacks and enhances underwater combat effectiveness, while the Penitent’s Garb offers spiritual protection against the spectral enemies that populate the cathedral’s upper chambers. Both pieces require solving environmental puzzles involving light reflection mechanics unique to this area.
The endgame regions present the most powerful armor options, including the legendary Phoenix Raiment found only after defeating the game’s penultimate boss and backtracking through the Burning Spire with newly acquired flame immunity. This armor set provides exceptional protection and grants passive health regeneration, making it invaluable for the final confrontations ahead. Players seeking complete armor collection should also investigate the secret area accessible through the Dream Realm portal, where the Ethereal Vestments await those who solve the game’s most cryptic puzzle sequence.
Expert Opinion: Beast of Reincarnation’s armor distribution reflects a thoughtful approach to player progression that rewards both combat skill and exploration curiosity equally. The placement of defensive upgrades at key narrative junctures suggests the developers understood how to pace power acquisition without trivializing content. Players who systematically collect all armor pieces will find themselves well-prepared for the challenging New Game Plus mode, where enemy damage scaling makes every defensive bonus count.